Running Your Oven
Curing a New Brick Oven: The First-Fire Schedule
The most common way a brand-new oven is destroyed is being fired too hard, too soon. A day-by-day schedule, what to watch for, and what to do if it goes wrong.
A newly built brick oven is full of water. Refractory castable cures chemically but retains free moisture; firebrick absorbs it; the render holds more still. All of it has to leave slowly.
Fire the oven hard before that happens and the water turns to steam inside the structure faster than it can escape. Steam expands roughly 1,600 times. The result is spalled hearth brick, cracked castable, or in bad cases a dome that has to be rebuilt.
This is the single most common way a new oven is damaged, and it is entirely avoidable.
The principle
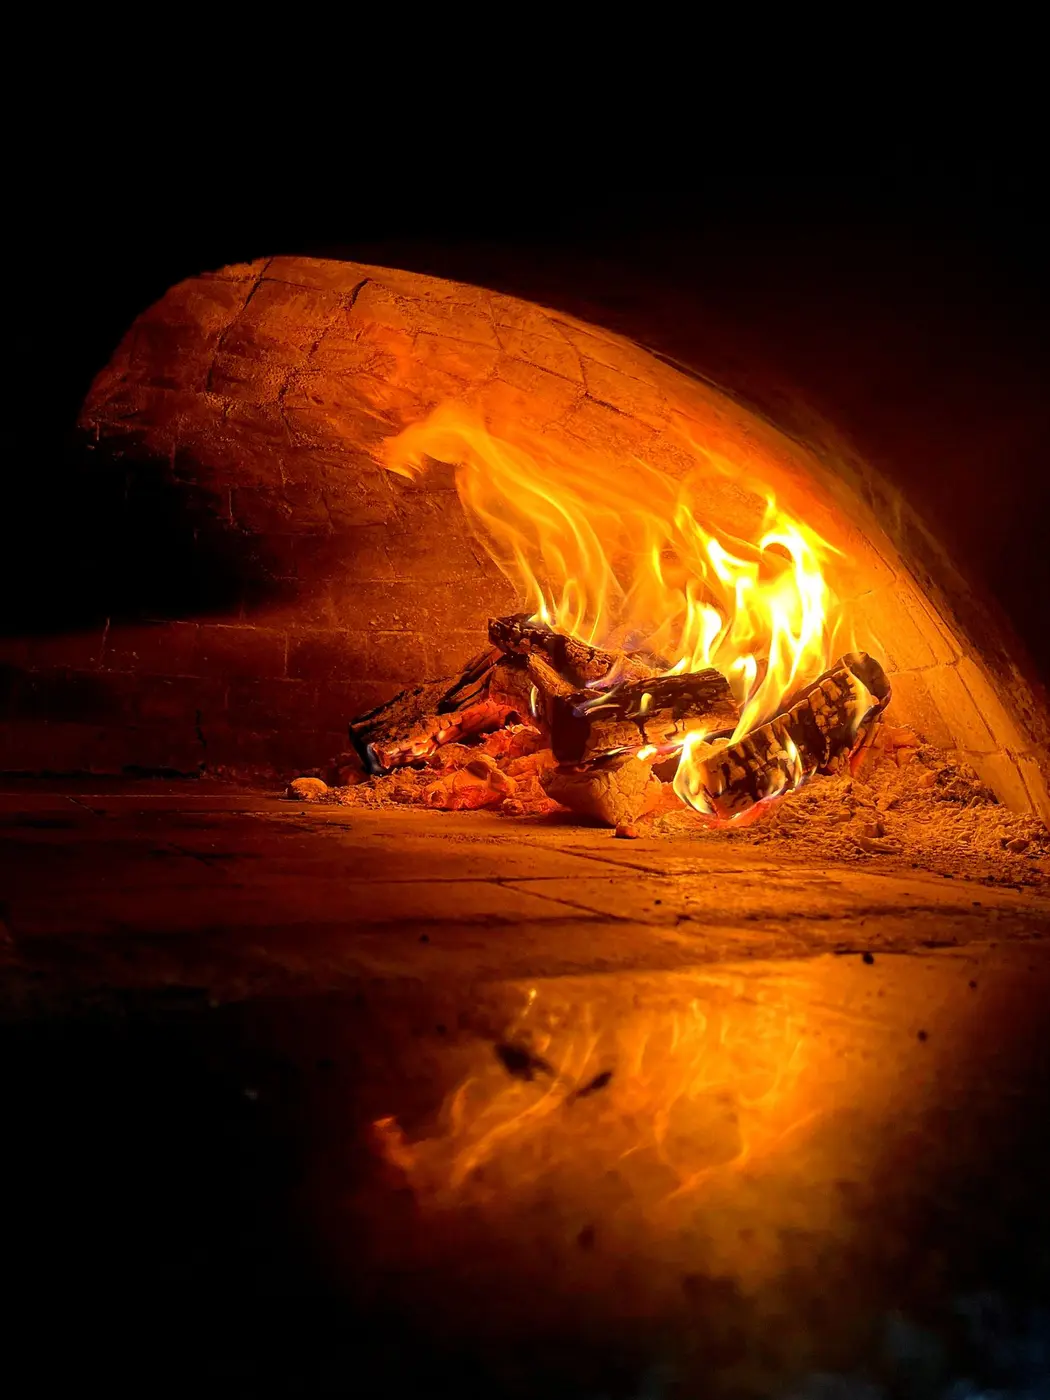
Small fires, rising gently over several days, with the oven mouth open so moisture can leave. You are not trying to cook anything and you are not trying to reach temperature. You are driving water out of the structure at a rate it can tolerate.
Patience here is the whole technique. There is no way to do it faster, and every shortcut damages something you paid for.
A working schedule
For a typical 100 cm dome. Heavier ovens need longer — our 130 cm bakery build at 2.6 tonnes takes considerably more.
| Day | Fire size | Target | Duration |
|---|---|---|---|
| 1 | Dinner-plate sized | ~100 °C | 2–3 hours |
| 2 | Slightly larger | ~150 °C | 3–4 hours |
| 3 | Larger again | ~200 °C | 3–4 hours |
| 4 | Moderate | ~250 °C | 4 hours |
| 5 | Substantial | ~350 °C | 4 hours |
| 6 | Full | Working temperature | As needed |
Let the oven cool naturally between fires. Do not force cooling, do not throw water anywhere near it, and do not close the door to hold heat during the curing days — you want moisture leaving, not being trapped.
What to watch for
Steam or dampness on the render is normal and expected in the first days. It means the schedule is working exactly as intended.
Fine hairline cracks in the outer render are normal. Render moves; the oven inside it is unaffected. These are cosmetic and can be made good later.
Loud cracking or popping from inside is not normal. Let the fire die and extend the schedule — you are going too fast for this particular build.
Spalling — fragments flaking off the hearth or dome face — means steam has already done damage. Stop, let it cool completely, and get it looked at before firing again. Continuing will make it worse.
If you think you have rushed it
Stop and let the oven cool fully. Then assess: cosmetic render cracks are nothing. Spalled brick faces or crumbling joints need a professional opinion before the oven goes back into service.
Damage caught early is often repairable in place. Damage fired through repeatedly is not. If you are unsure, a reline survey costs far less than discovering the problem in your first busy week.
Why we run the curing ourselves
Handing over an uncured oven with a printed schedule is asking for trouble. It is a week of daily attention at exactly the moment a new owner is most tempted to cook something, and the mistakes are permanent.
So we fire our own ovens through the full schedule before handover. You get the oven cured, tested at working temperature, and a walkthrough of how to fire it — not a set of instructions and good luck. It is part of every build we do.
After a reline or repair
The same rules apply. Any time fresh castable or new brick goes into an oven, it carries water and needs curing again. Shorter than a new build, but not skippable.
If we reline your oven, we cure it too. If someone else does, ask them the same question — it is on the checklist for a reason.
Curing after a long shutdown
An oven that has stood unused for months — through a closure, a renovation, or a long rainy season — will have absorbed moisture, particularly if it is outdoors or the flue cap has failed.
Do not go straight to full temperature. Two or three moderate fires over as many days will drive the moisture out gently. It is a much shorter version of the same principle, and it prevents an avoidable crack in an oven that was previously sound.
What is physically happening
Three different kinds of water leave a new oven, and they leave at different temperatures.
Free water — moisture sitting in pores from mixing and from the render — comes off below 100 °C. This is the first two days, and it is why you see the outside darken and steam.
Chemically bound water in the castable's hydrate phases leaves between roughly 200 and 300 °C. Slower, and the stage where rushing does most damage, because that water is inside the material rather than on its surface.
Residual moisture deep in thick sections comes out last, which is why heavy ovens need longer schedules than thin ones. It is not proportional to size; it is proportional to the thickest section.
Firing without a thermometer
An infrared thermometer makes this straightforward, but the schedule predates them and can be run by eye.
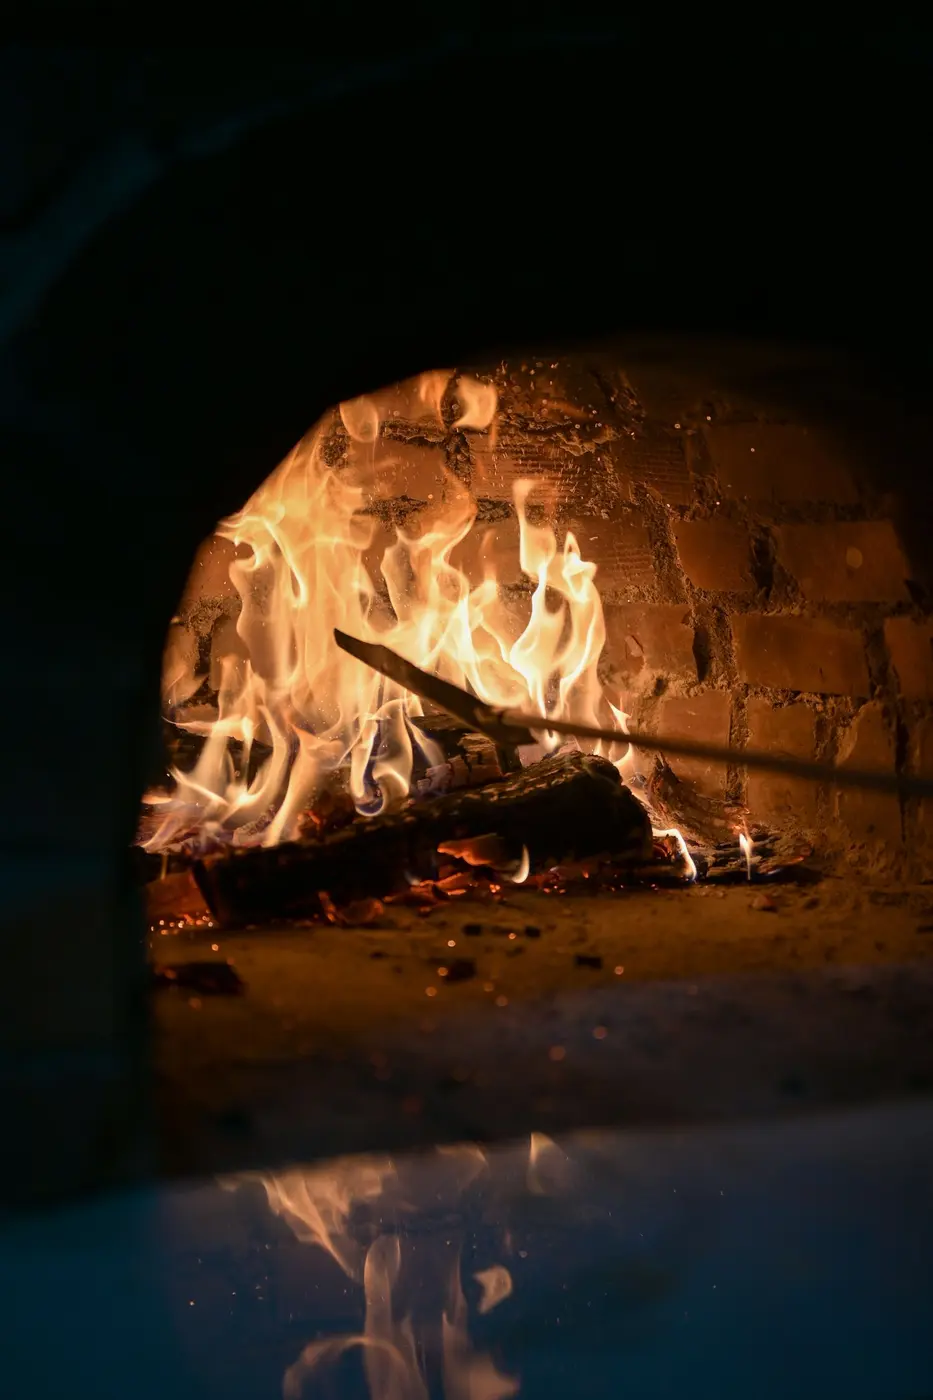
Day one is a fire you could comfortably hold your hand over from a metre away — a few small pieces, no more. Each subsequent day roughly doubles the fuel. By day five the dome soot should be clearing from the crown, which tells you you are approaching 350 °C. Day six is a normal fire.
If in doubt, go slower. There is no penalty for a seven-day schedule and a permanent one for a four-day schedule.
Weather during curing
Curing during the rains takes longer, particularly outdoors. Ambient humidity slows moisture leaving, and render that is still absorbing water from the air is not drying.
Cover an outdoor oven between fires but do not seal it — you want rain off and air moving. A tarpaulin wrapped tight against the render traps exactly the moisture you are trying to remove.
Handover, and what you should insist on
Whoever builds your oven, do not accept handover of one that has not been fired to working temperature in front of you. The final firing is the test that the structure survived curing, and it is the only opportunity to see a problem while it is still the builder's responsibility.